
 I love my bed. Yes I really do. I love the soft, tucked in, perfectness calling me every night. I love having two sheets neatly tucked around me (and the fact that having a second sheet means I don't have to wash my duvet cover every week - who wants to fight with that?). And I love my mattress.
So I thought I would share my bed-love with you all right now! Sorry, if this is too much sharing... move right along.
Anyway, down to business. Over the years I've taught various flatmates how to make a bed and each and everyone has been surprised at the difference it makes. I never realised it was such an art-form! My Mum taught me when I was so young I can't remember and I still love going to stay with my parents and finding the spare bed made up just-the-way-it-is-supposed-to-be! So here it is - how to make the perfect bed each and every day, just like a hotel!
So first things first, it might not be fashionable, but two sheets are the way forward. Yes I know I've already said this, but believe me it is so much more comfortable. You should also use a mattress protector or an old sheet. This doesn't need to be laundered every week, instead about every month or so when you wash the duvet cover. You also don't need to worry about ironing your sheets unless it is for presentation. Pulling them taught and having high quality sheets makes a far bigger difference to comfort than ironing in my opinion. I hate ironing the sheets as it take sooooo long and I'm awful at ironing... but please feel free to do it and someone tell me how to make it easier!
Anyway, here are my steps to the perfectly made bed!
1. Hoover the mattress. I also flip the mattress monthly but not every week. This means that not only am I rotating the mattress to keep it in good condition but both sides get hoovered to reduce dust and debris build up.
2. Add a mattress protector or old sheet. This is simply to keep your mattress in good condition. If you mattress is on the old-side consider getting a mattress-topper which pads out the top for an extra-luxurious feel. To be honest though new mattresses don't really need them in my opinon.
3. Put on your bottom sheet. Fitted or flat doesn't matter. Fitted is easier, but flat is just fine (follow the tips in steps 5-7 if you are using a flat sheet). Smooth it out and pull it tight to remove wrinkles.
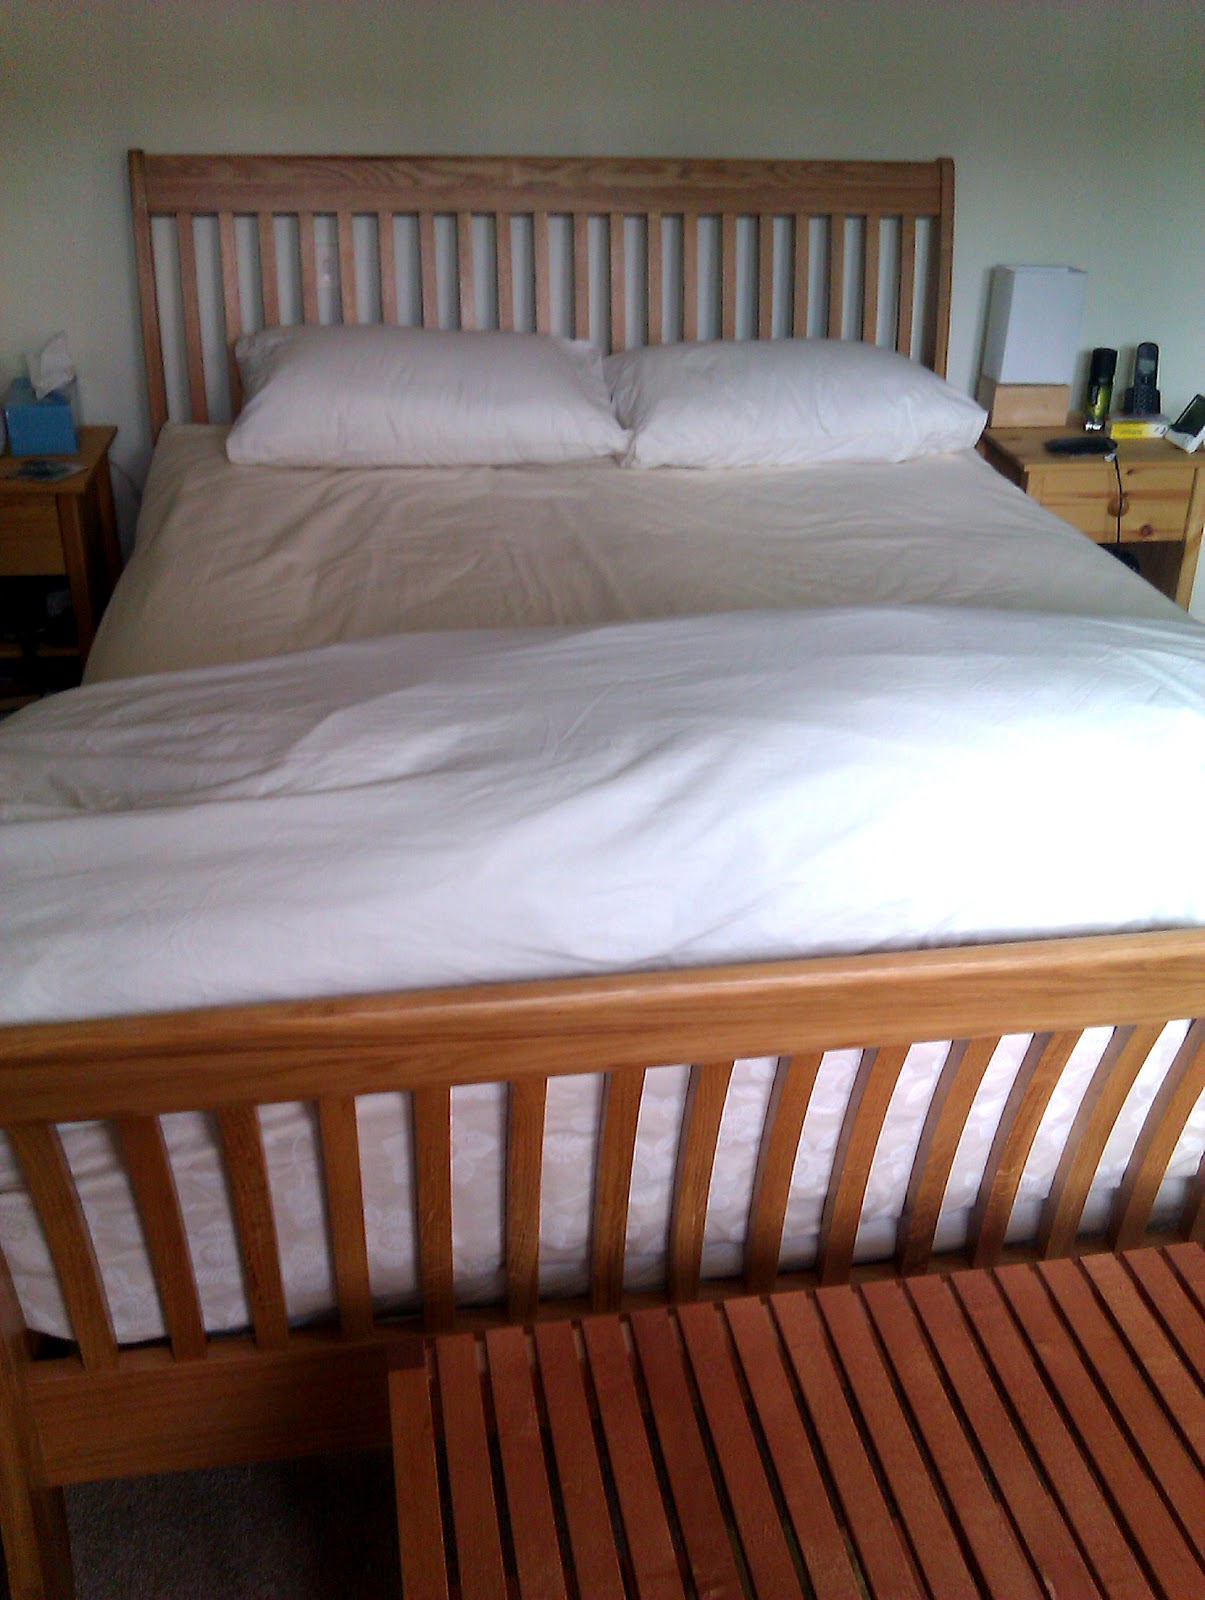
4. Place the second flat sheet on top. I line the top of the sheet (usually identified by the larger border along that edge) level with the top of the mattress. The rest of the sheet gets pulled out to fall over the bottom of the bed (you can see my footboard holding the sheet up from the mattress) and down each side. This may be obvious, but make sure it hangs down each side in equal amounts.
5. Get perfect corners. Take the piece of sheet directly below the end of the mattress at the foot of the bed (as shown in figure 5).
6. Place this piece of the sheet on top of the mattress and straighten.
7. Tuck the foot of the sheet under the mattress. Yes it is now looking very messy and very complicated - but give it a go and you'll see how easy it really is! Don't forget to do this on both sides at the foot of the bed.
8. Tuck the sides of the sheet under the mattress all the way up to the top of the bed. You will now have a wonderful Christmas-parcel-like fold at the foot of the bed. You might need to tweak, but it is really easy and it stays-put all night long!
9. Add your duvet. Obviously put your duvet cover on your duvet if you happened to have just washed it! Then pop the duvet on the bed. If you have a foot-board on your bedframe tuck the duvet in along the bottom - it makes all the difference and keeps the duvet in place all night.
10. Tuck the sheet over the top of the duvet. This is the final touch; take the top top sheet and tuck it around the top of the duvet, then re-tuck the sheet in at the sides. This keeps the sheet always around the duvet and completes the-all-tucked-in experience when you climb under the sheets!
Finish with your choice of pillows and accessories. I'm not allowed to use scatter cushions in the bedroom. According to Mr PTC they are unnecessary and pointless (I can still get away with them in the spare room thankfully!). But finish off your bed with your choice of pillows and cushions (and don't forget to wash your pillows from time to time!).
 |
| Leave your duvet folded back during the day to help reduce dust mites. |
When you aren't making your bed from fresh sheets I recommend pulling your duvet back during the day to air the sheets and mattress. I started doing this after reading an article that showed that unmade beds (basically beds that allow moisture to escape and air) are healthier because there are less dust mites. It can still be neat and tidy, but by folding it back you allow the bed to breathe, moisture to evaporate (yes I know its gross but we all sweat in bed) and the dust mites to dehydrate and die. So pull back your duvet when you get out of bed in the morning. I tend to get changed when i get home from work, and at the same time I re-make the bed following steps 3 to 10, just straightening the bottom sheet.
The bed gets fully made (including a vacuum of the top of the mattress and pillows) once a week when I wash all the sheets and pillow cases. The mattress is turned, hoovered on all sides (top, bottom and sides), the mattress protector and duvet cover laundered about once every month, sometimes more, sometimes less depending on time, but never more than 8 weeks apart. I have yet to figure out how often to clean my wash my pillows though!
This post has been shared in the following link parties:
http://www.notjustahousewife.net/2012/08/show-me-what-ya-got.html
This post has been shared in the following link parties:
http://www.notjustahousewife.net/2012/08/show-me-what-ya-got.html
Thanks for stopping by,
Rose
Let me know what you think... leave a comment or send an email to passthecaffeine {at} gmail {dot} com
No comments:
Post a Comment